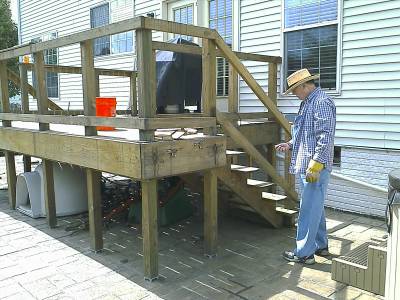
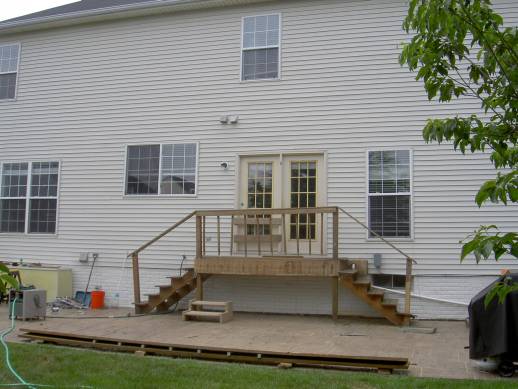
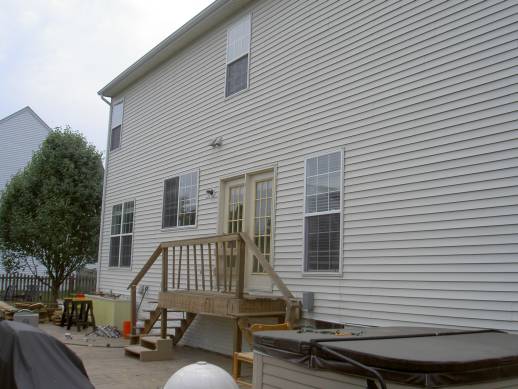
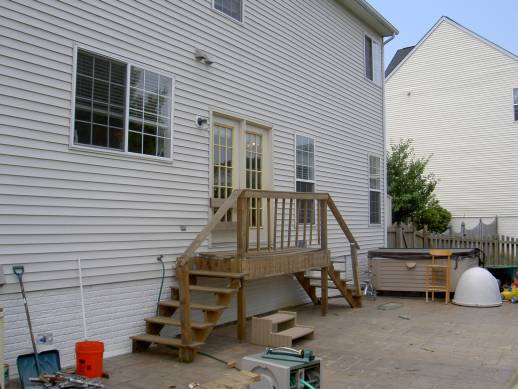
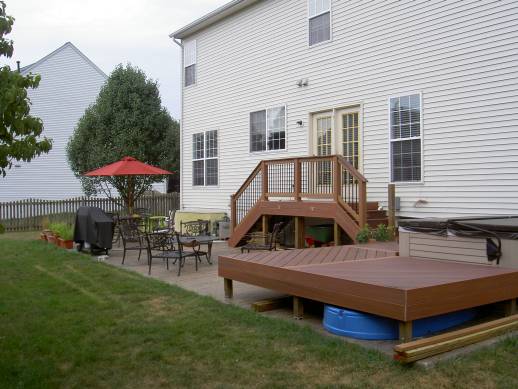
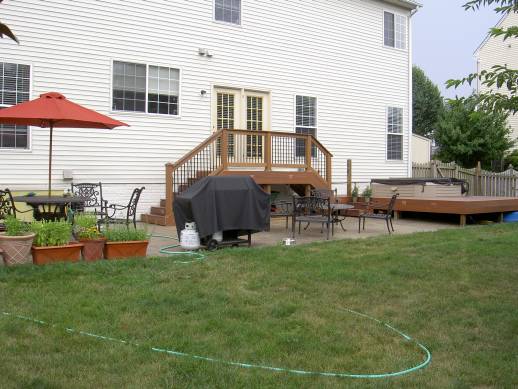
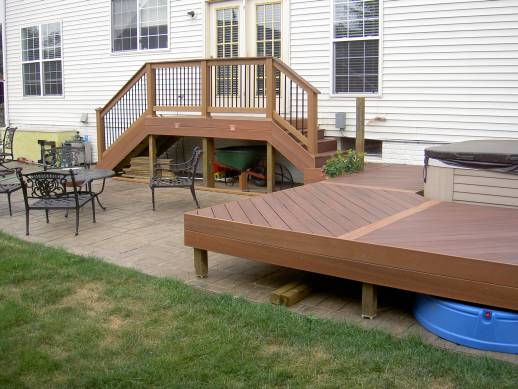
The Original Deck
Moving past the "why'd you do it?" section and onto the action... This was a reasonably extensive planning process before any action was taken. Several months of research in spare time actually. I read up a bunch on the web, looking at first for just designs that I felt were cool, yet practical. What I concluded is that, making a cool deck isn't really about size and shape (though that matters), but about material selection, and top board layout patterns. So, I first designed my deck with what the top patterns would look like, and then created the appropriate size and shape to fit my working area, and then designed the substructure to support my monstrosity. Once I started designing the substructure, I found myself doing a lot more reading on rules, regulations, and how-to's of building a deck. A lot of the stuff didn't apply to me, since most of the deck would be very low to the ground.
At some point, come back and look at this pdf with the original designs!
The designs include original concept (as compared to the old deck), top board layout, deck frame and substructure, artist's side and front renderings, and projected costs. The reason I want you to look at it, is because I didn't go with either of these designs. They're great designs, and I was probably going to go with design #2. I ended up essentially cutting them in half (keeping only the right half), and went with this design instead:
revised.smaller.deck.design.pdf.
It keeps the deck around the hot tub, but gets rid of the main deck in favor of utilizing more of the existing patio. This does two things: 1) saves money 2) saves more money. I really wanted the tiered approach I had originally design. But, if I really want to, I can go back and add a tier to the final product at a later point if I desire.
So, the first step was tearing everything down. My plans included saving some of the existing material. This was partially to save money, but also to try to be "green". I hate throwing things away. As a result, it took a whole day for the two of us to completely disassemble the deck, but we were left with a lot of re-usable lumber.
Breaking Stuff
MOCKUPS to settle the arguments
So, let's get on with the construction! I got almost all my supplies from T.W. Perry, a local building supplier. I setup a contractor account, which got me good prices on all the hardware, but lumber prices for contractors vs joe home-owner is actually not much different. Here's my dad, hard at work on the landing frame (it took about 30 minutes to tear down my mockup, which was very unstable).
Construction!!!
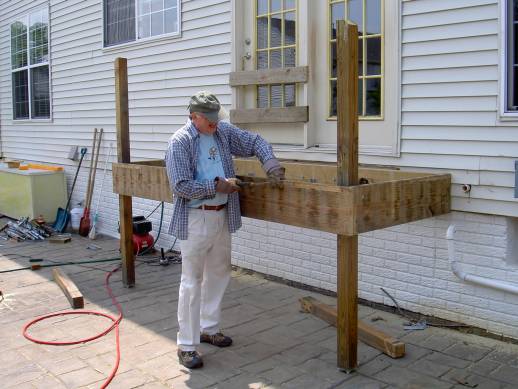
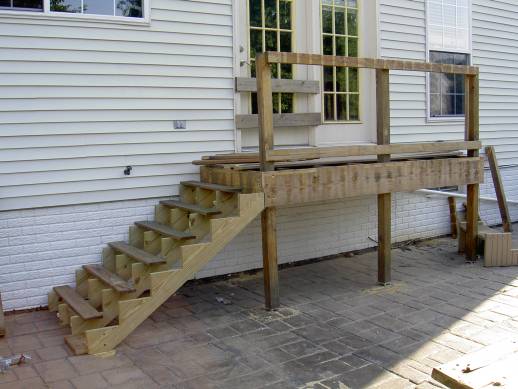
Normally, you would use 6 x 6 to support a deck, and then build a hefty beam on top of that, but because the deck is so small, it doesn't need that kind of support.
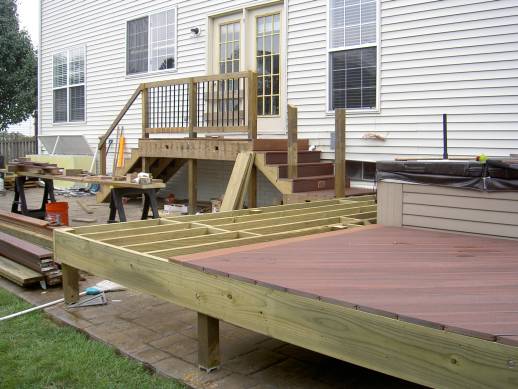
We cheated and bought pre-cut stair stringers from Home Depot (T.W. Perry didn't carry precut stuff). Here you can see that we used 4 stringers. Because I was going to use composite materials, you have to have the stringers 12" apart because composites, while heavier, aren't as strong as wood.
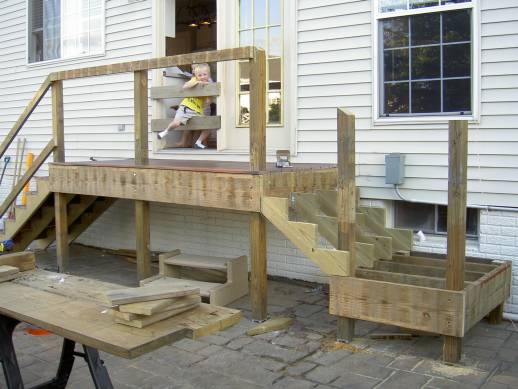
On the right side, my dad built a "landing" area that would support the right stair case, and to bridge the user to the hot tub level deck. Also, you can see the top boards have been installed on the left stairs, and upper landing. I used "Tiger Claw" undermount fasteners for grooved composite boards, so you can't see any screws at all. It makes for a great finished look that you will see in later pictures. It requires that you use grooved top boards, which I got from Fiberon. I used the Tropics line, which looks very cool.
You can see the holes I cut in the stair risers, where I'd later install lights.
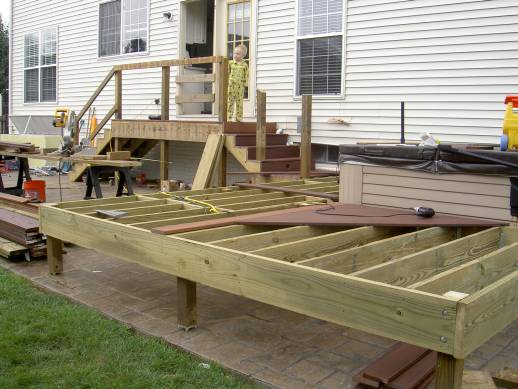
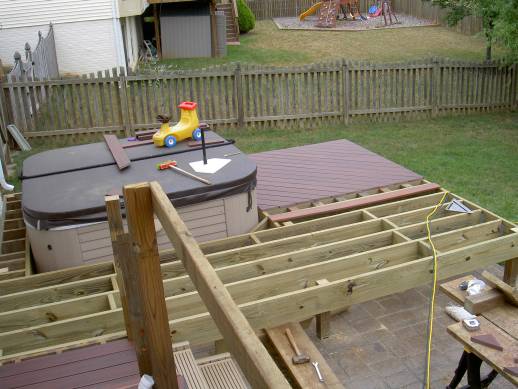
Then we started on the hot tub frame. Here's some early shots. Because we were building on top of an existing concrete patio, we just used "L" brackets and drilled 1/4" holes into the patio concrete to secure key posts to keep the deck from shifting. You can't dig holes all the way down, because the concrete patio is designed to float above the frost line. Fastening posts to holes below the frost line would have ended up destroying the patio and/or the deck over time.
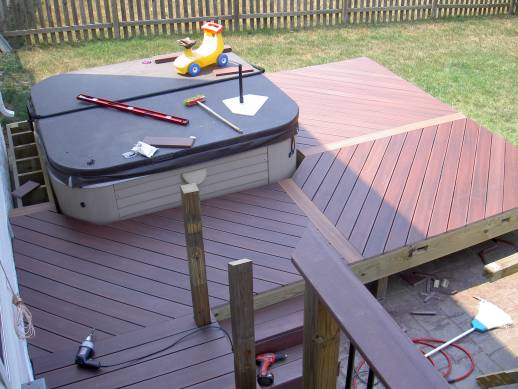
In these next pictures, you can see completion of the hot tub deck frame, and a few of the top boards laid down.
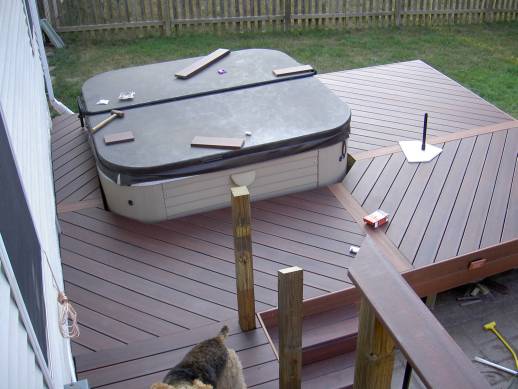
In this next one, you can see some of the baluster's have been installed. I later went in and took these out. The decking looked so nice, we decided to put nice post sleeves over the ugly 4x4 posts and use structural trex 2 x 4's instead of the wood ones (you'll see those later).
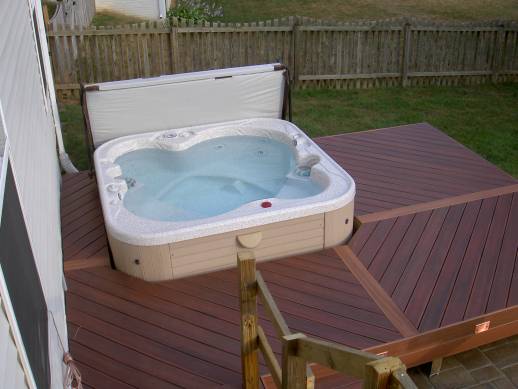
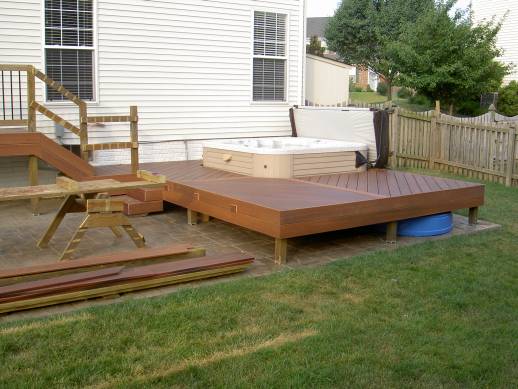
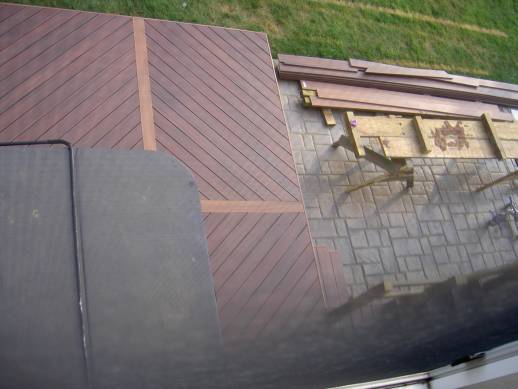
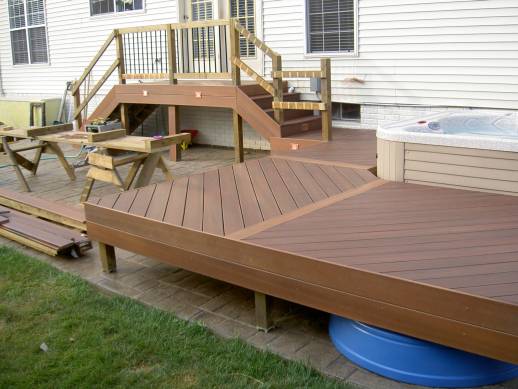
And, in these next shots, the top boards are completely installed everywhere. Note that I used different colored wood for the "divider" boards, to help offset the design.
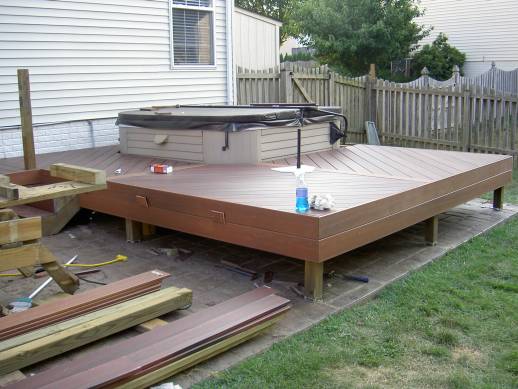
And fascia added around the hot tub decking:
And here you can see that we installed fascia on the front of the main landing as well, and cut holes for more lights:
The Final Results!
It took a few days longer than originally anticipated, but that was only because we didn't have a completely thought through design (I only had one day to incorporate Chrissie's changes, whereas my original plans had taken months and everything had been thought through multiple times). For example, I think my dad had to rebuild the "hot tub landing bridge" at least 4 times because we kept thinking of something we hadn't thought of before construction. Here's my breakdown of manhours for this project:
Saturday - Dave: 6 hours; Dad: 6 hours
Sunday - Dave: 8 hours
Monday - Dave: 7 hours; Dad: 7 hours
Tuesday - Dave: 7 hours; Dad: 7 hours
Wednesday - Dave: 7 hours; Dad: 5 hours
Thursday - Dave: 4 hours (rained out)
Friday - Dave: 7 hours; Dad: 6 hours
Saturday - Dave: 9 hours
Sunday - Dave: 5 hours
Monday-Thursday: 0 hours
Friday - Dave: 6 hours (includes cleanup, taking rubble and waste to dump)
Saturday - Dave: 4 hours
Total Man Hours: 101 hours
Total original projected man hours: 61.
So, we were way over in man hours, but a lot of that could have been avoided with more planning time. Plus, my original plan did not account for trash removal, which was 4 hours.
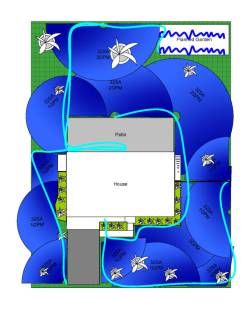
And here's the beginnings of my next project, in case you're interested. I'm really getting tired of watering the lawn:
This was a lot of work, but a lot of fun. Hopefully, there's some good links to the right and below that can lead you to some qualified folks to help you with your home deck project!
Thanks,
Dave

